Make an animated Process Flow in PowerPoint
Make an animated Process flow.
One can create an animated process flow in PowerPoint using a .jpg image overlaid on the animation. The .jpg can be "cut out" to create the impression of movement behind the .jpg image.
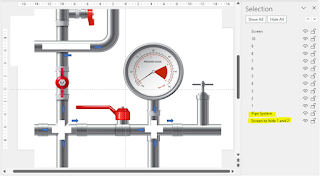
One could, for example, reveal what is happening in a pipe system:
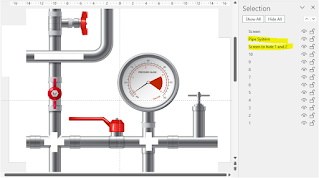
The action on the left is what is desired. The action on the right illustrates the point of layering the .jpg file on top of the arrows. Compare the two images of the selection tabs.
In this arrangement, the arrows will be visible at the incorrect times.To create the cut-out.
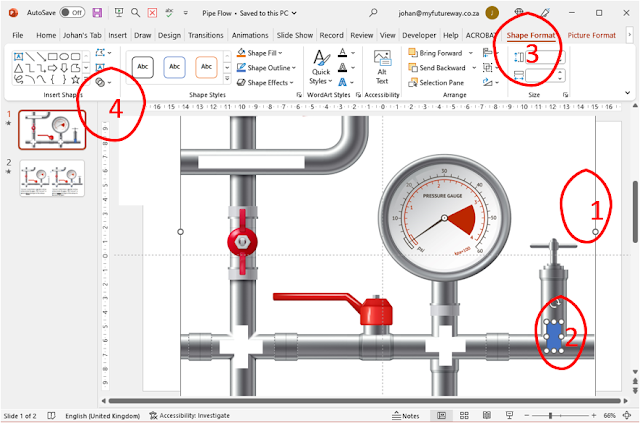
Insert the shape that you want to cut out from your image. Place the shape on top of your image where you want to reveal what is happening under your image. First, select your image(1) and the shape (2) you want to cut out. (The order in which you choose the objects, affects the result.) Now select Shape Format (3) and Merge Shapes, Combine (4) to make your cut-out.
With your cut-out in place, you can animate objects below it to reveal what is “happening under the hood.”
Here is another animated process flow, also using the cut-out technique. After the cutout was made, I played around with the lines and the glow effect for the lines.
The PowerPoint slides are available in the resources section of the Udemy course mentioned below.


Comments
Post a Comment
Please include your e-mail for further information.