In the video below, I inserted a link to demonstrate to someone how one might create a link in a video to send viewers to further relevant information.
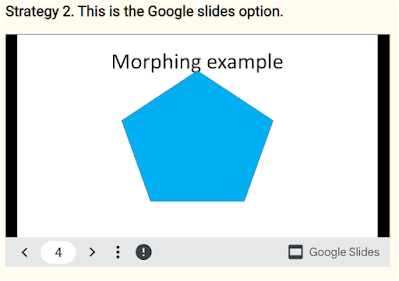
Examples of ways to publish PowerPoint animations| Try viewing this blog in various browsers. The morphing animation is displayed using a variety of strategies. Various browser settings and various levels of sophistication of your audience may cause unexpected results. Strategy 1. This is the "native" PowerPoint presentation displayed as in iframe in this blog: For this strategy to work, you need a Microsoft 365 or Office 365 subscription in order to publish your PowerPoint presentation to the web. One of the options then open to you is to embed your presentation as an iframe. In the event that you don't have that subscription, you can use Strategy 2 below. Note that Google slides lose some of their animation and sound. It is quite easy to bring the sound back. Google slides is a good option if you don't have a high-end Microsoft subscription. There does not seem to be a way to make the animation run automatically.
I used this presentation to make the video. This is the YouTube video where this presentation was used. 1. Choose a Picture All pictures tell stories. All stories can be told with a picture! So choose one that suits your story and place it on your slide. You can make it any size that you want to. 2. Place a shape and text over the picture Eventually, what we want to achieve is for the picture to peek out from behind the text; We want the picture to come flying toward the viewer through the text. Something like this... To achieve this effect we need a shape over the picture and we need to "Cut the text out" from the shape that is placed over the picture. To do that we need to place a Text box over the shape as well and enter our message in the text box. In the example below I used a rectangle; one could also use any other shape or even an image. Now select the shape first and then the text box and go to Shape Format, Merge Shapes, and Union this will...
(Explore this course as well) Make an animated Process flow. One can create an animated process flow in PowerPoint using a .jpg image overlaid on the animation. The .jpg can be "cut out" to create the impression of movement behind the .jpg image. One could, for example, reveal what is happening in a pipe system: The action on the left is what is desired. The action on the right illustrates the point of layering the .jpg file on top of the arrows. Compare the two images of the selection tabs. In this arrangement, the arrows will be visible at the incorrect times. To create the cut-out. Insert the shape that you want to cut out from your image. Place the shape on top of your image where you want to reveal what is happening under your image. First, select your image(1) and the shape (2) you want to cut out. (The order in which you choose the objects, affects the result.) Now select Shape Format (3) and Merge Shapes, Combine (4) to make your cut-out. With your...


Comments
Post a Comment
Please include your e-mail for further information.